Yesterday, I finally got myself a Solid State Drive (SSD) for my 2010 MacBook Pro. It has been using traditional hard drives for more than 3 years and now it is really slow. The price of an SSD now is relatively cheap compared to how much it would cost 2 years ago.
I was surprised to find out that a 120GB SSD now only cost $90 on Amazon. That was also one of the reasons why I decided to upgrade from a traditional hard drive to a much faster and less energy-consuming SSD.
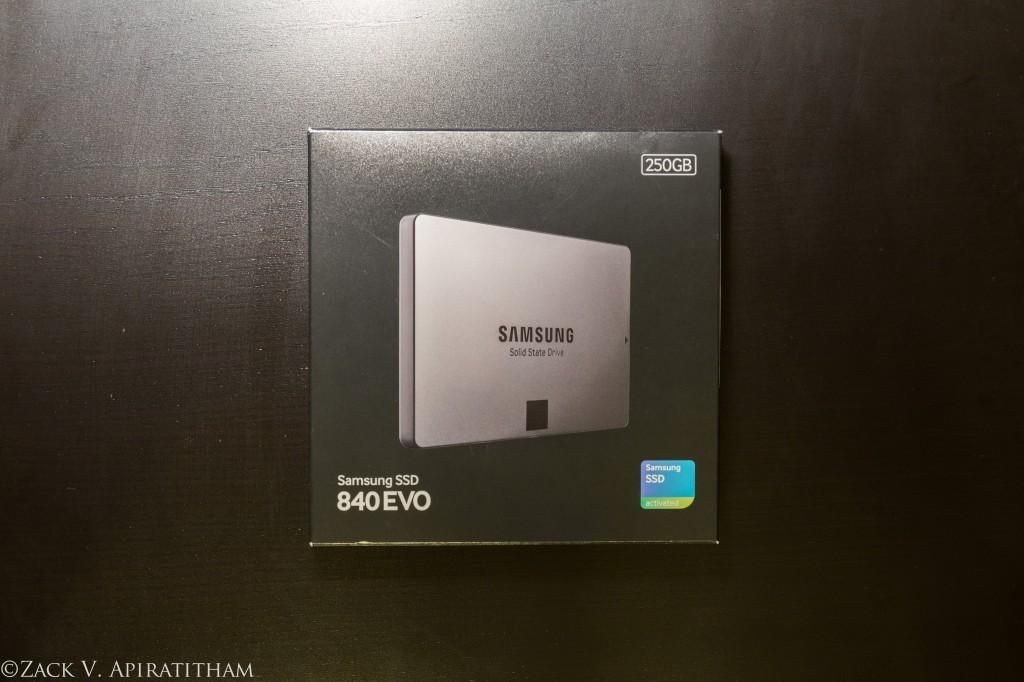
I got a 250GB SSD from Samsung, which is the best-selling SSD on Amazon.com, for only $145. At the beginning, I was contemplating between the Crucial m500 and Samsung 840 EVO. Despite the fact the Crucial is one of the first companies that entered the SSD market since around four years ago, I still prefer the Samsung over it because it received more positive reviews and has much faster transfer speed.

I already had some experiences changing the RAM and hard drives on my MacBook, so upgrading it to an SSD was rather an easy task for me to do.
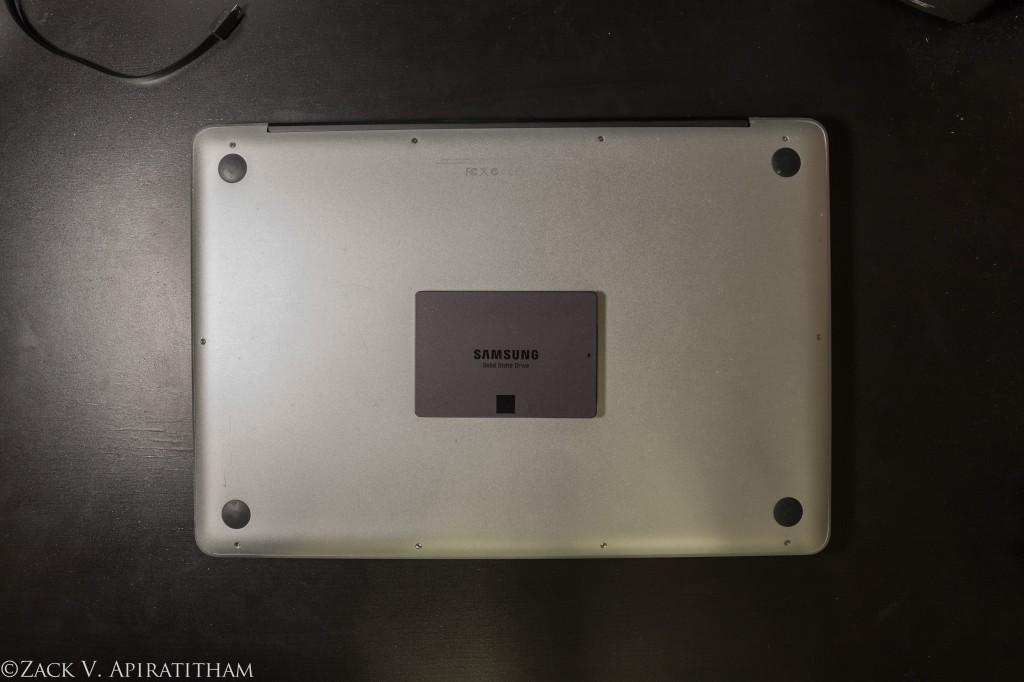
There are 10 screws on the back of a unibody MacBook which need a 0 size screwdriver to unscrew them.
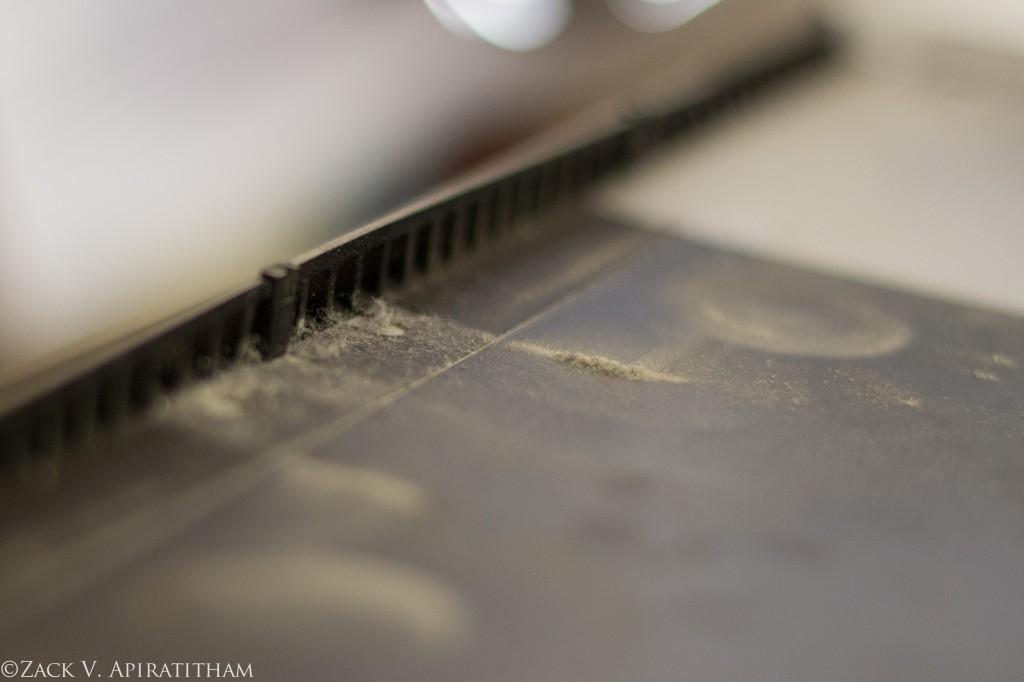 The back cover can get really dusty. So this was a good chance for me to clean it up.
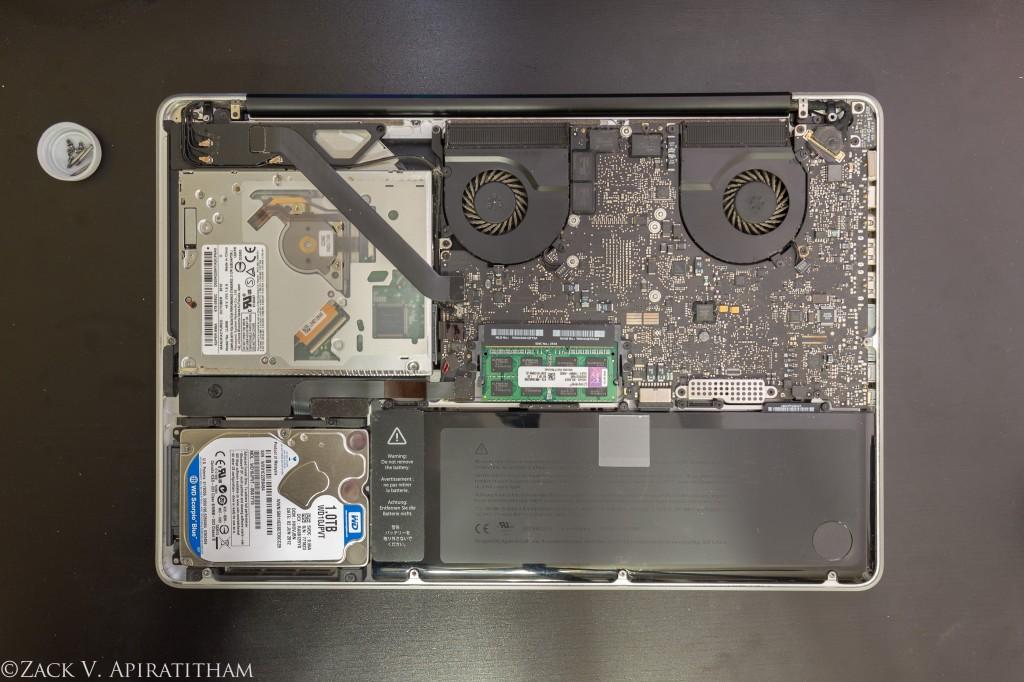
The drive is located on the bottom left corner. There are 4 more screws to be screwed off before I could lift the hard drive up and disconnect the SATA cable. The SATA cable is really fragile so I had to be extra careful disconnecting it from the hard drive because if I ripped it I would need to look up the tutorial on how to replace one. Once the hard drive came off, there are 4 more mounting screws on each corner of the drive which I must use them on my SSD for it to be able to be installed. These are not normal screws, I needed a Torx screwdriver to work with them.

After the mounting screws are in place, I just carefully connected the SATA cable to the SSD, put it down and secured it in place. Then I put the back cover back on and ta-da! That was it! Pretty easy right?
Next part was the nerve-wrecking part. I booted up the computer and hoped that it would recognize a new SSD in its system because if not I would need to open the back cover up again and re-install the drive or worse, return the drive and get a different one. But luckily, it recognized the new drive! So now the very last part was to install the operating system. I already created a bootable USB drive to use as an installer for OS X Mavericks.
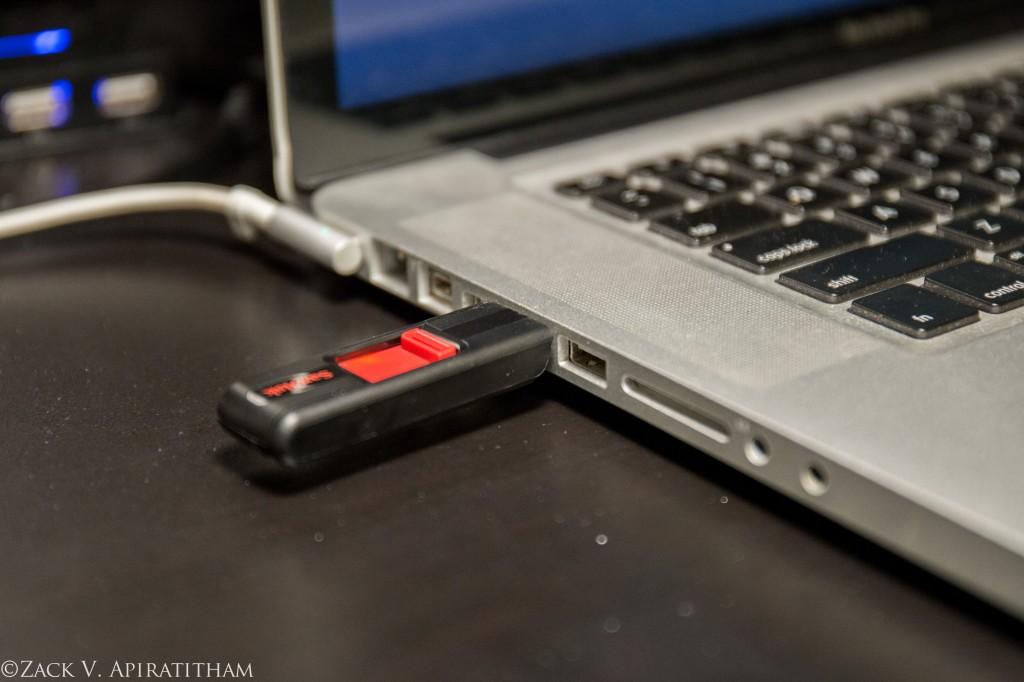 The USB flash drive with OS X Mavericks on it.
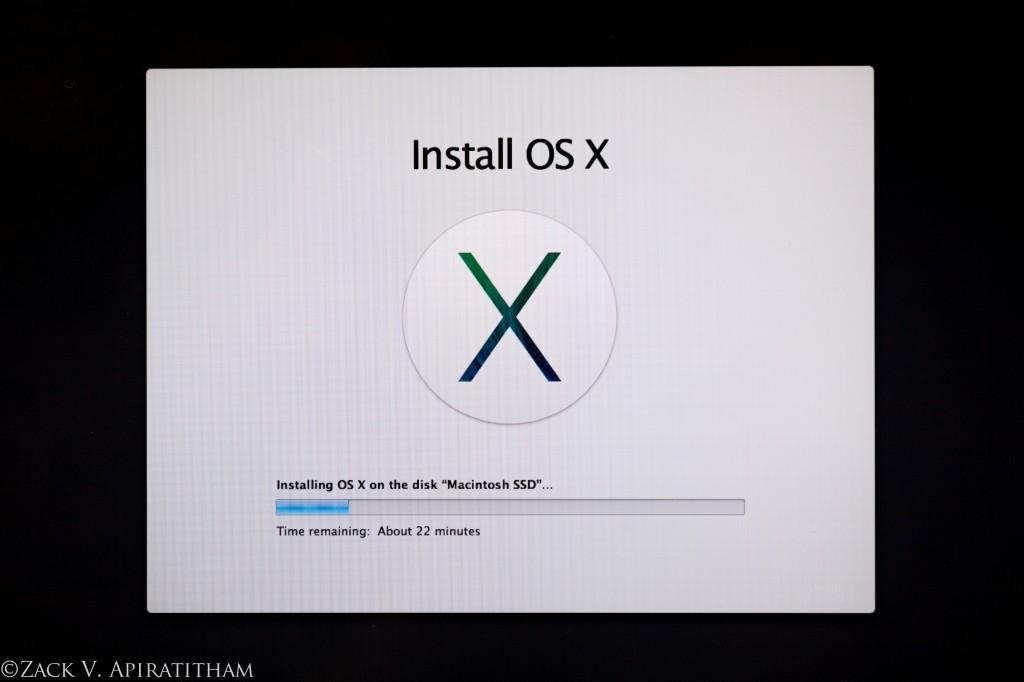 The installation took a reasonable amount of time but still really fast compared to installing one on a hard drive.
After about half an hour of installation process, my MacBook booted up the a new SSD and freshly installed OS X Mavericks! Its boot-up time was less than 15 seconds! I tested the read/write speed it clocked in around 250MB/s for writing and 270MB/s for reading.
 Not the fastest but still impressive nonetheless.
And that was it! My journey through upgrading my laptop to a SSD. If any of you guys are thinking of upgrading your computers to a SSD, I strongly recommend it. Though I haven’t gotten a lot of experiences with it but so far it has been great (I’ll post some updates later). My applications launch in matter of seconds rather than minutes. The boot-up and shutdown time are also insanely fast. I can easily say that this is one single best upgrade for my laptop so far.