Recently, I’ve been hearing lot of praises about Google Photos, especially from Casey Liss of ATP, about how wonderfully accurate its algorithm is at finding images of places, objects or people you want from your photo library. With my iPhone almost running out of storage, mainly because of my photo library, I decided to give Google Photos a shot.
But upon setting up the backup, I was faced with a very hard decision: whether to upload the images in high quality or original quality. With high quality, it offers an unlimited free storage with a reduced file size as long as the photos have the resolution of 16 megapixels or less. This should be enough for everyday images taken with smartphones. With the original option, the photos will be uploaded in full size with no compression. However, it will be limited to how much storage space is available on the Google Drive.
UPDATE: On 11 November 2020, Google announced that they will no longer offer the free unlimited High quality storage starting 1 June 2021. So the benefit of doing that over original quality only comes down to storage savings for your Google Account (which comes with 15GB of free storage).
The “reduced file size” part is what I wanted to know more about since I was definitely going to take advantage of that free unlimited storage. However, I was worried that the compression algorithm would be too aggressive at reducing the file size, and thus lowering the image quality below the acceptable level. In order to figure this out, I decided to do a little investigation on how much quality, if at all, was lost by the compression, and if we can see any visual differences between the original and the compressed one.
Before we go any further, I must put forth a disclaimer here that I am by no means an expert when it comes to image compression algorithms. What I'm about to show here is a non-scientific experiment conducted on a cheap, uncalibrated, 1080p monitor using a couple of random photos I took. So please do further research and tests before making your decision on this.
To run this experiment, I selected two images: one with the resolution of 20MP taken with my DSLR and the other at 8MP with my iPhone 6.
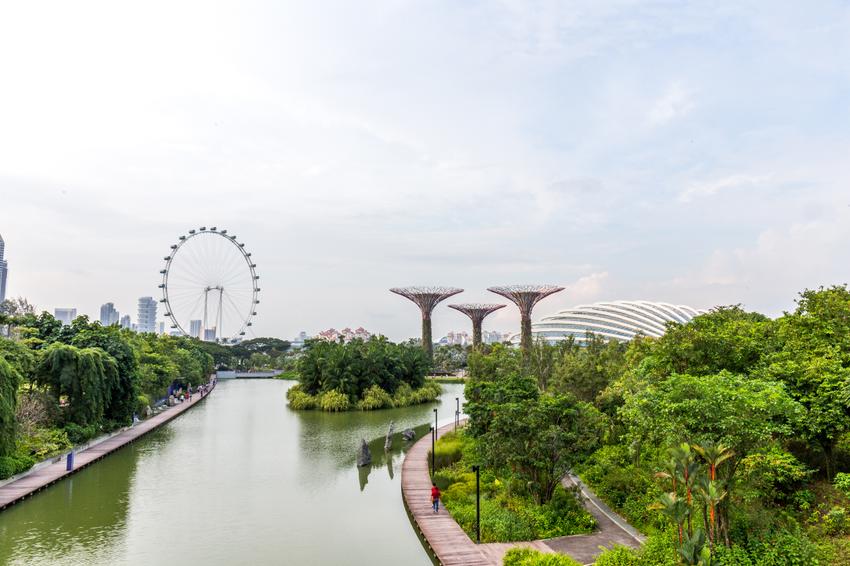
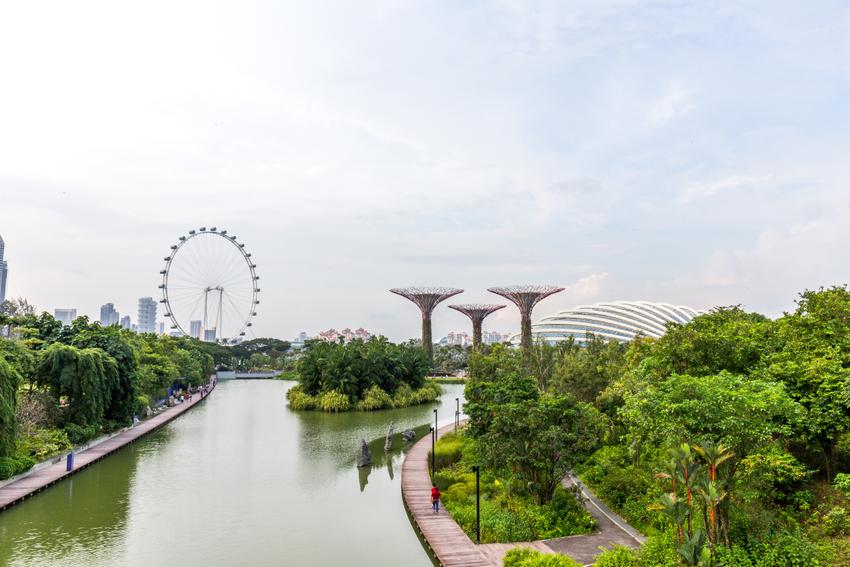
First, let’s look at the image taken by the DSLR. Since this image has the resolution of 20MP, Google Photos downsized the image to 16MP, so it definitely lost the actual pixel count in the process.
Original at 20MP
Compressed to 16MP
Now let's take a look at them with a 100% crop and compare them side-by-side.
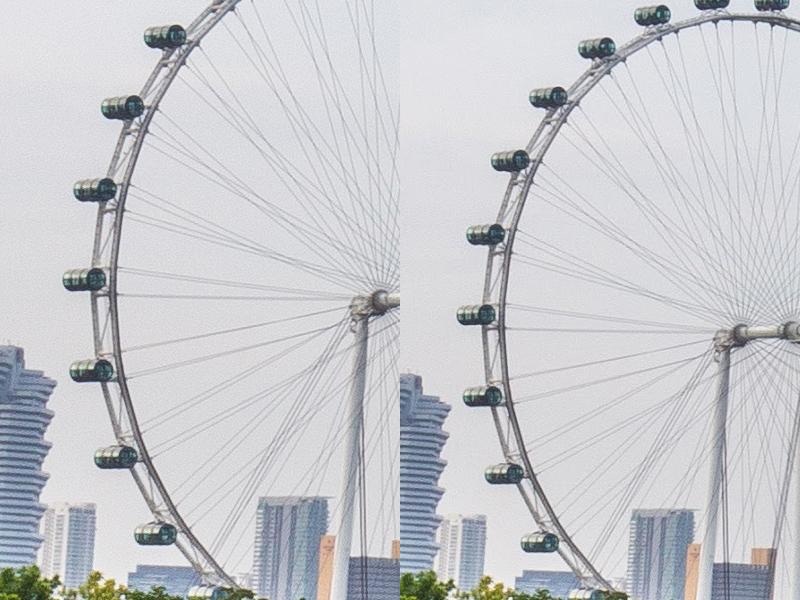 Original (left) and compressed (right) side-by-side
Apart from the obvious difference in the resolution, the image quality seems to not have been affected at all.
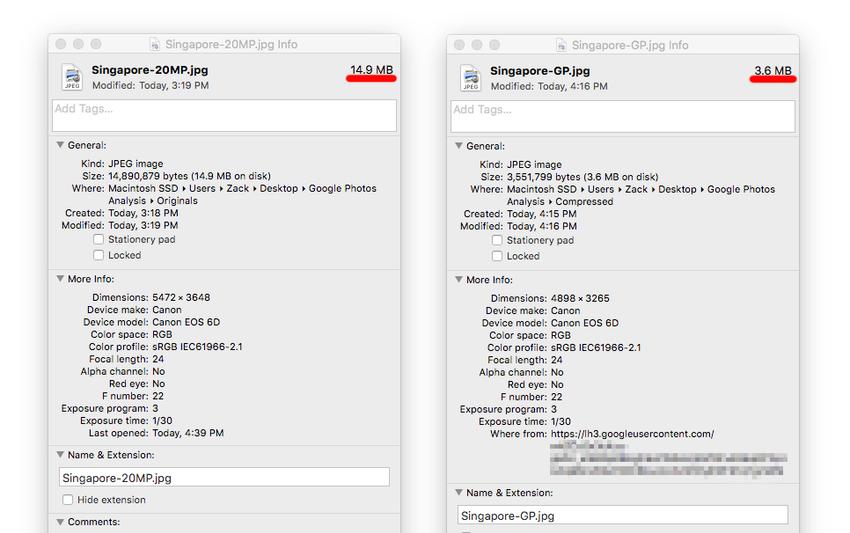
If we take a look at the information of the two images, we see that the resolution has been reduced to 16MP and the file takes up only 3.6 megabytes. That's over 75% reduction in file size! I'm really impressed at how high-quality the image still looks after having gone through this aggressive compression.
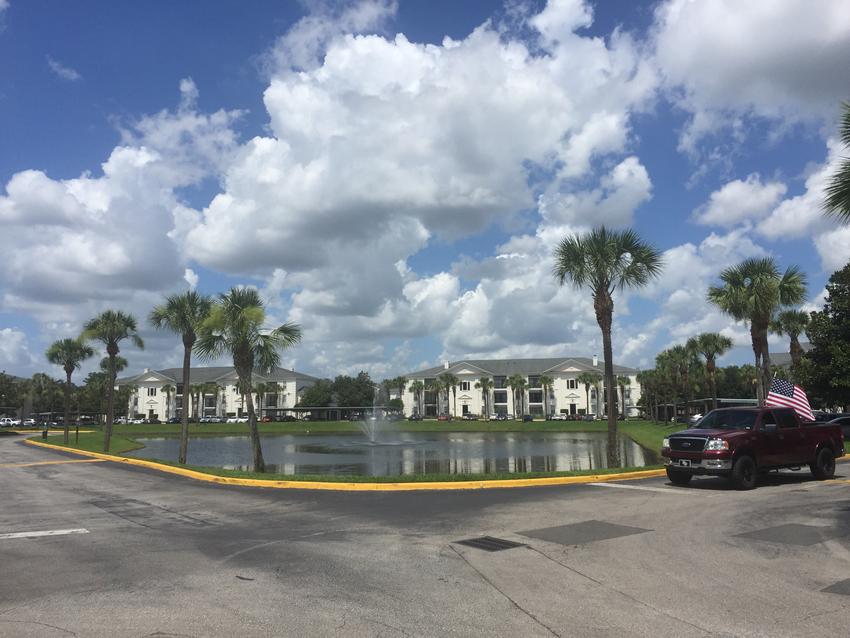
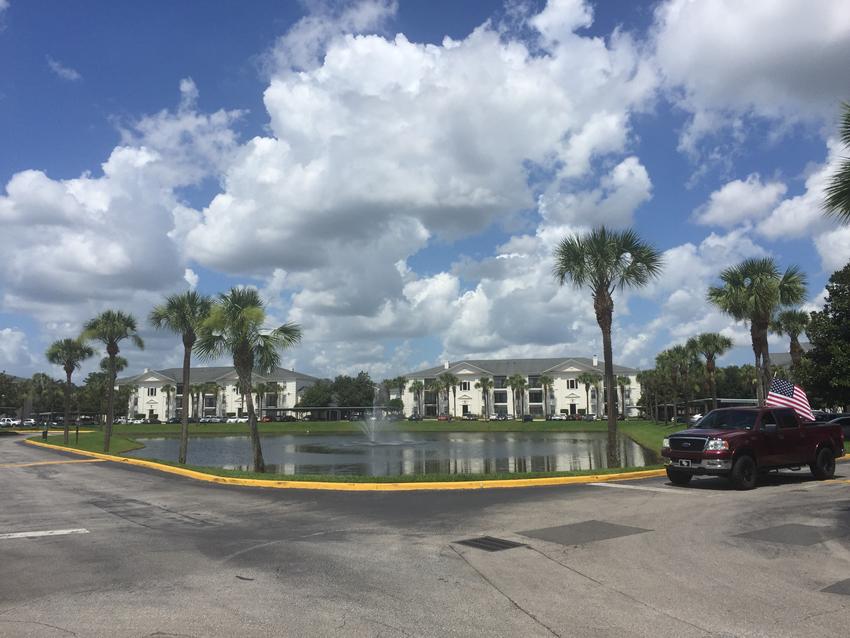
Now let’s compare the images taken by the iPhone 6’s back camera. Unlike earlier, the image here did not get downsized because the resolution is way below the 16MP limit.
Original at 8MP
Compressed at 8MP
They look virtually the same to me. Now let's look at them side-by-side at 100% crop:
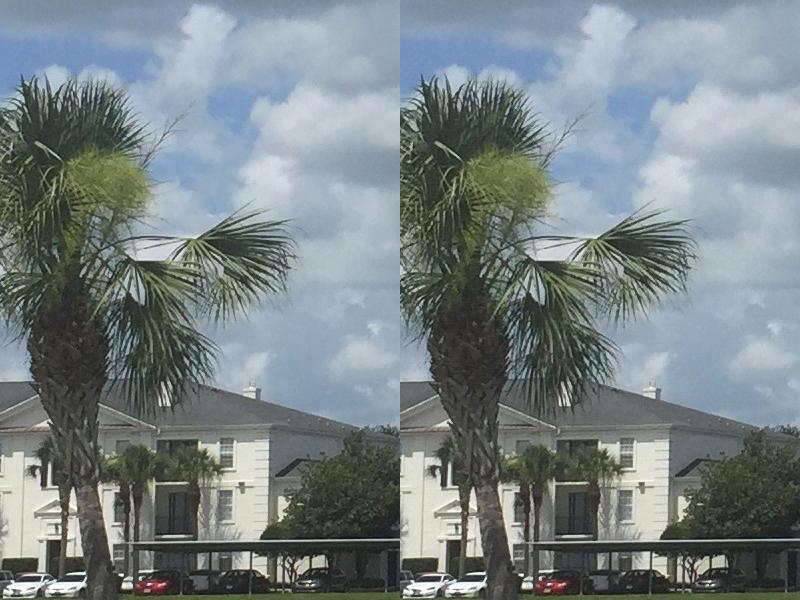 Original (left) and compressed (right) at 100% crop
Can you notice any differences in the details at all? Because I can’t.
Here is a look at the properties of the two images:
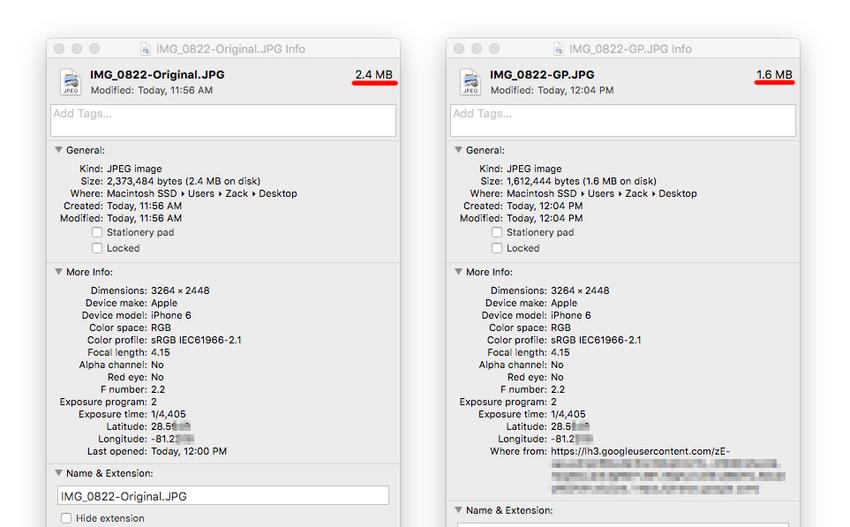
Notice that the resolutions are exactly the same and all the metadata is still intact after being compressed by Google Photos. So the only difference here seems to be the 30% reduction in file size.
This visual inspection reveals that there seems to be no loss in image quality at all. So we have to go a bit deeper to find out what's going on.
Given that the original and compressed image have the same resolution, the reduction in file size has to result in some quality loss or else it would be impossible to make it smaller. So to look for that, I brought the images into Photoshop in order to drill down to the very smallest of details that our mere monkey eyes can’t see.
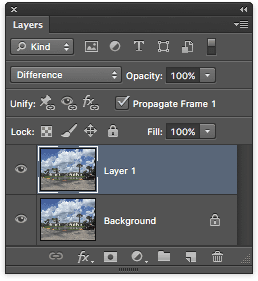
What I did was to open them in Photoshop on two different layers, one on top of the other.
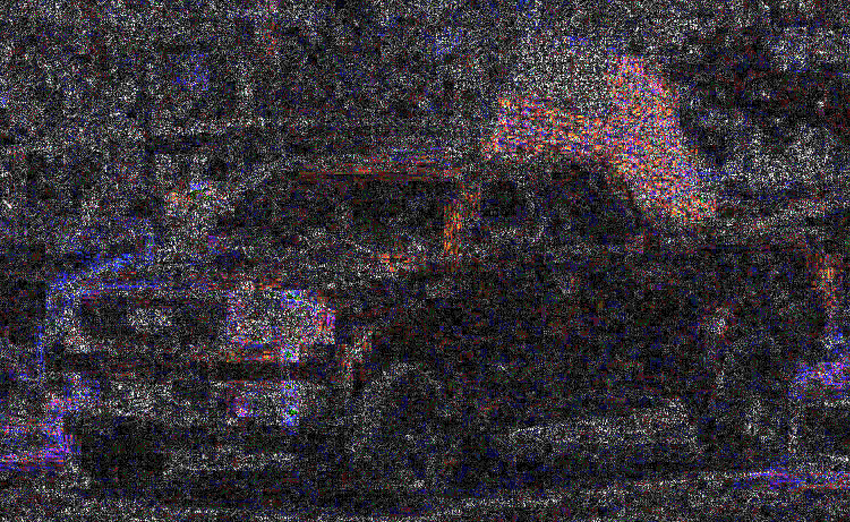
Now the trick here is to change the blending mode to “Difference” which will show any differences between the two images. If they are exactly the same, this will result in a completely black image. Here is the resulting image after applying the blending mode:
If you don't look closely (or if your screen is not at the brightest setting), you won’t see anything other than the complete blackness. But if you really look for it, you will start to see faint outlines of the image. But here is when the histogram becomes handy.
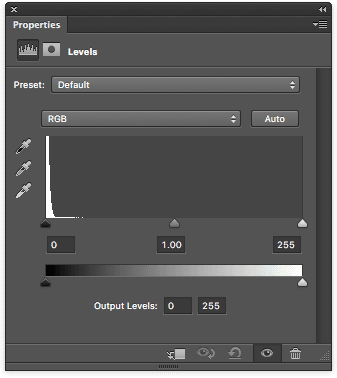
Let’s take a quick detour and talk about histogram. A histogram is a graph representing pixels of different color range/tones in an image. Now the histogram we see here is a simplified version that only shows the greyscale range from black (left) to white (right). The higher the graph at a given point along the x-axis, the more pixels there are at that specific color/tone.
If the two images are exactly the same, we would only see a single vertical line at the very left of the histogram. That would mean the image is entirely composed of black pixels. Here we can clearly see that there are pixels of other colors as well. This reveals that the two images are in fact different.
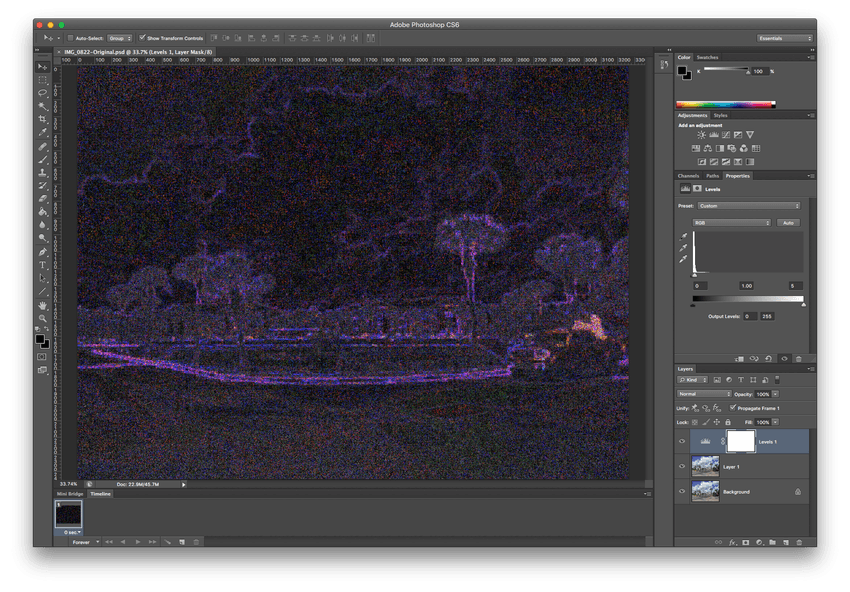
To make this clearer to see. I adjusted the histogram level to show only those pixels that are present in the image. Here is the result:
And there it is! The evidence of quality loss I’ve been looking for. What we see here is called compression artifacts, and to simply put, they are junk that got added to the image from the lossy nature of the JPEG compression. The brighter the pixel, the more different they are.
If we zoom in closer, we can see how nasty these compression artifacts are.
So with all these in mind, I decided that the high quality option will suffice with photos taken by my iPhone camera. Even though we found out that there are quite a lot of compression done to the image, in reality those quality loss just cannot be seen with naked eyes. I figured that I don’t need the highest of quality for these day-to-day photos since I won't be post-processing them anyway, unlike those taken with a DSLR. The 16MP limit won't be a problem either since it's more than large enough for photo album printing or even framing. I would, however, keep images with a resolution higher than 16MP away from it if you want to take the advantage of free unlimited storage. Even if the image quality is visually the same, I don't think it's worth getting your images downsized to only 16MP.
